 Save
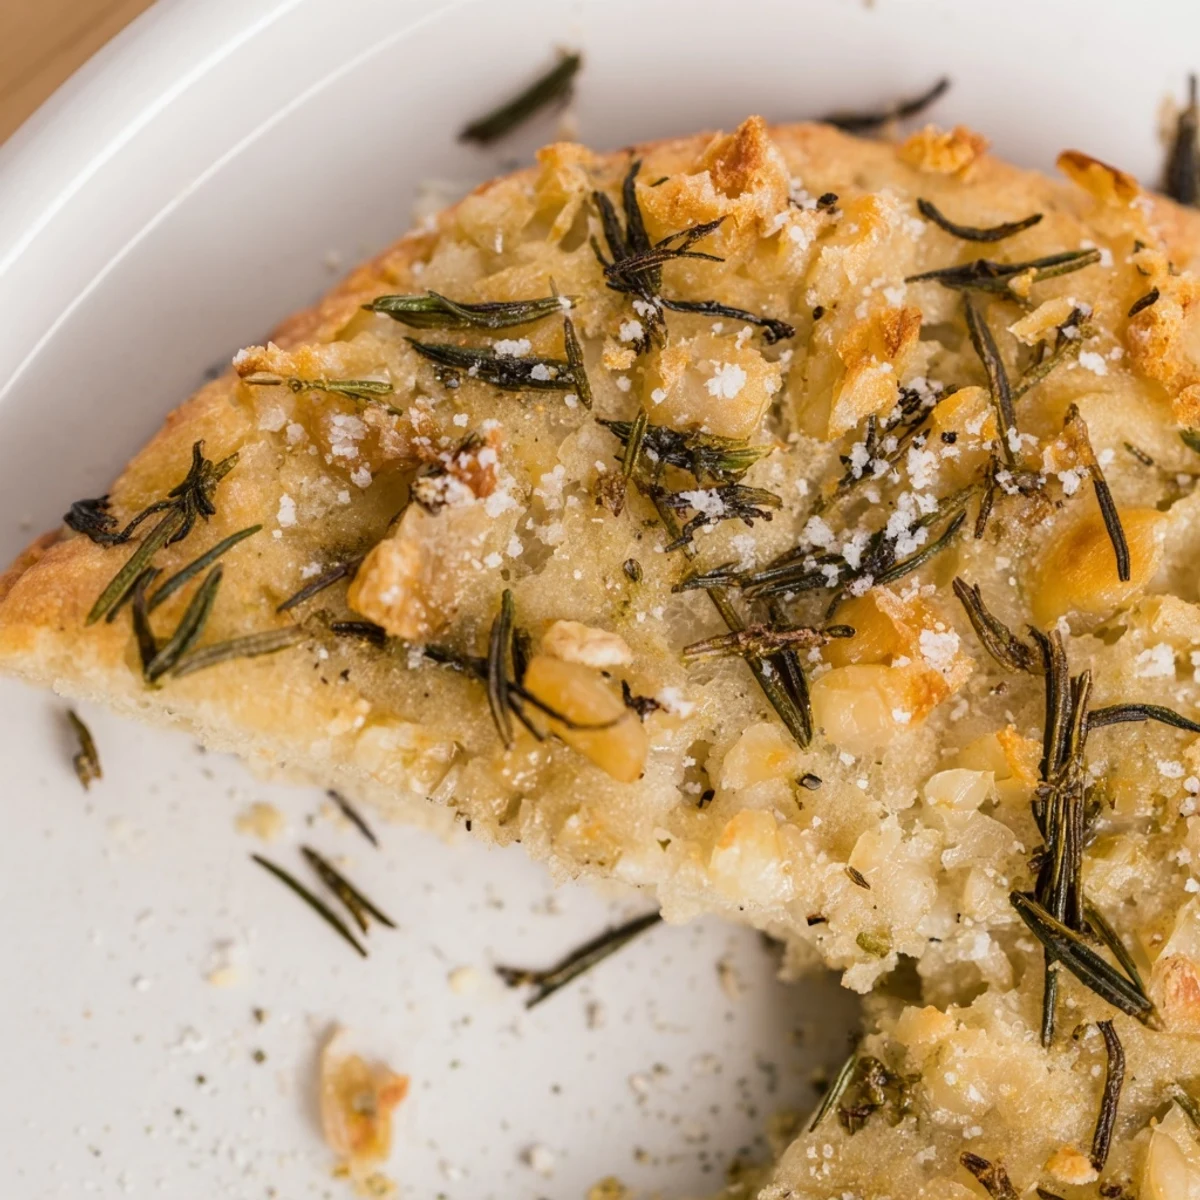
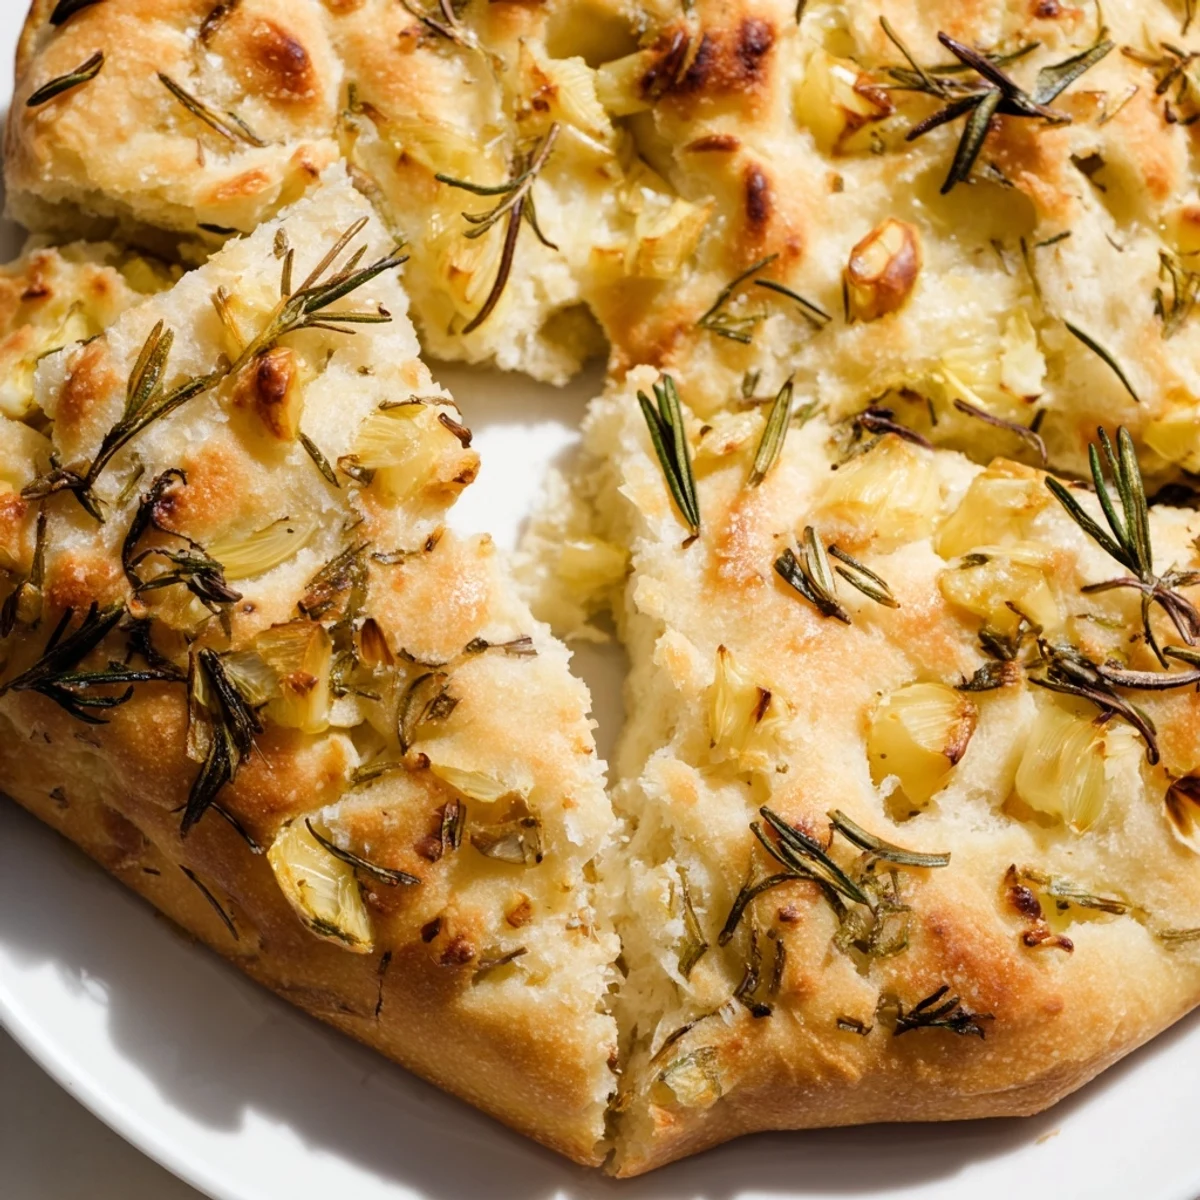
Save This artisan-style skillet bread delivers irresistible aromatics and rustic texture. The dough comes together with basic pantry staples, while fresh rosemary and roasted garlic create deep savory notes throughout. Baked in a cast iron skillet, the crust develops beautifully crisp edges with a tender, chewy interior. The finished loaf emerges golden with a fragrant herbal scent that fills the kitchen.
Serve warm alongside soups and stews, or tear and share with olive oil for dipping. The bread keeps well for a day or two and can be refreshed in the oven.
The first time I made this skillet bread, my entire apartment smelled like an Italian bakery within minutes. I had friends coming over for a simple soup dinner and decided to try baking bread in my cast iron skillet on a whim. When I pulled that golden, rosemary-scented masterpiece from the oven, I knew I'd never settle for store-bought again. Something about that crusty edge and soft, garlic-flecked center makes people gather around the pan like moths to a flame.
Last winter, during that relentless storm that kept everyone inside for three days, I made this bread four times. My roommate and I would stand over the skillet watching it rise through the oven door, literally counting down the minutes. We ended up eating half the loaf straight from the pan, burning our fingers on steaming slices, not even bothering with butter because the garlic and rosemary were enough. That's the kind of bread this is—something that turns a snow day into a memory.
Ingredients
- Bread flour: The higher protein content creates that satisfying chewy texture you want in rustic bread
- Active dry yeast: Make sure your water is warm but not hot—around 105°F is perfect for waking up those little organisms
- Fresh rosemary: I've tried dried herbs in a pinch, but fresh rosemary releases these incredible oils that perfume the whole loaf
- Roasted garlic: Taking the extra ten minutes to roast your cloves beforehand transforms the entire flavor profile
- Flaky sea salt: This isn't just seasoning—those crunchy salt crystals on top create these perfect bursts of flavor
- Olive oil: Use the good stuff here because you can really taste it in the final bread
Instructions
- Wake up the yeast:
- Whisk the warm water and yeast together in your largest bowl, then walk away for exactly five minutes. You should see a layer of creamy foam on top—that's how you know it's alive and ready to work.
- Build the foundation:
- Pour in the flour and salt, mixing with a wooden spoon until it starts coming together into this shaggy, messy mass. Don't worry about how it looks yet.
- Work the dough:
- Knead on a floured surface for about seven minutes, or until your hands are tired and the dough feels smooth like a baby's cheek. It should still be slightly sticky to the touch.
- Add the magic:
- Drizzle in that tablespoon of olive oil and scatter your rosemary and garlic all over. Knead just enough to distribute everything evenly—you want those flavor pockets scattered throughout.
- Let it rise:
- Place your dough in an oiled bowl, cover it with a damp towel, and find the warmest spot in your kitchen. Walk away for an hour and trust the process.
- Prep your skillet:
- Coat your 10-inch oven-safe skillet with olive oil—be generous, like you're greasing a pan for your grandmother's Sunday cake.
- Shape and second rise:
- Gently deflate your dough and press it into the prepared skillet, pushing it all the way to the edges like you're making a thick pizza. Cover again and let it puff up for another half hour.
- Get that oven hot:
- Preheat to 425°F while you brush the top with more olive oil and sprinkle that flaky salt all over like you're seasoning a steak.
- Bake until golden:
- Slide the skillet into the oven and set your timer for 32 minutes. You want the top deep golden brown and the sides pulling away from the pan slightly.
- The hardest part:
- Let it cool for at least ten minutes before slicing into it. I know, I know—but cutting it too soon steam-softens that perfect crust you just created.
 Save
Save My dad, who's been baking bread since before I was born, took one bite of this and asked for the recipe immediately. That's the highest compliment I've ever received in the kitchen. Now he makes it every Sunday morning, and the whole neighborhood knows when it's in the oven.
Making It Your Own
I've started adding chopped sun-dried tomatoes sometimes, or swapping in thyme when rosemary feels too wintery. Once I threw in some shredded parmesan and that was a game changer. The base dough is so forgiving—it's like a canvas that welcomes whatever you're craving.
Serving Suggestions
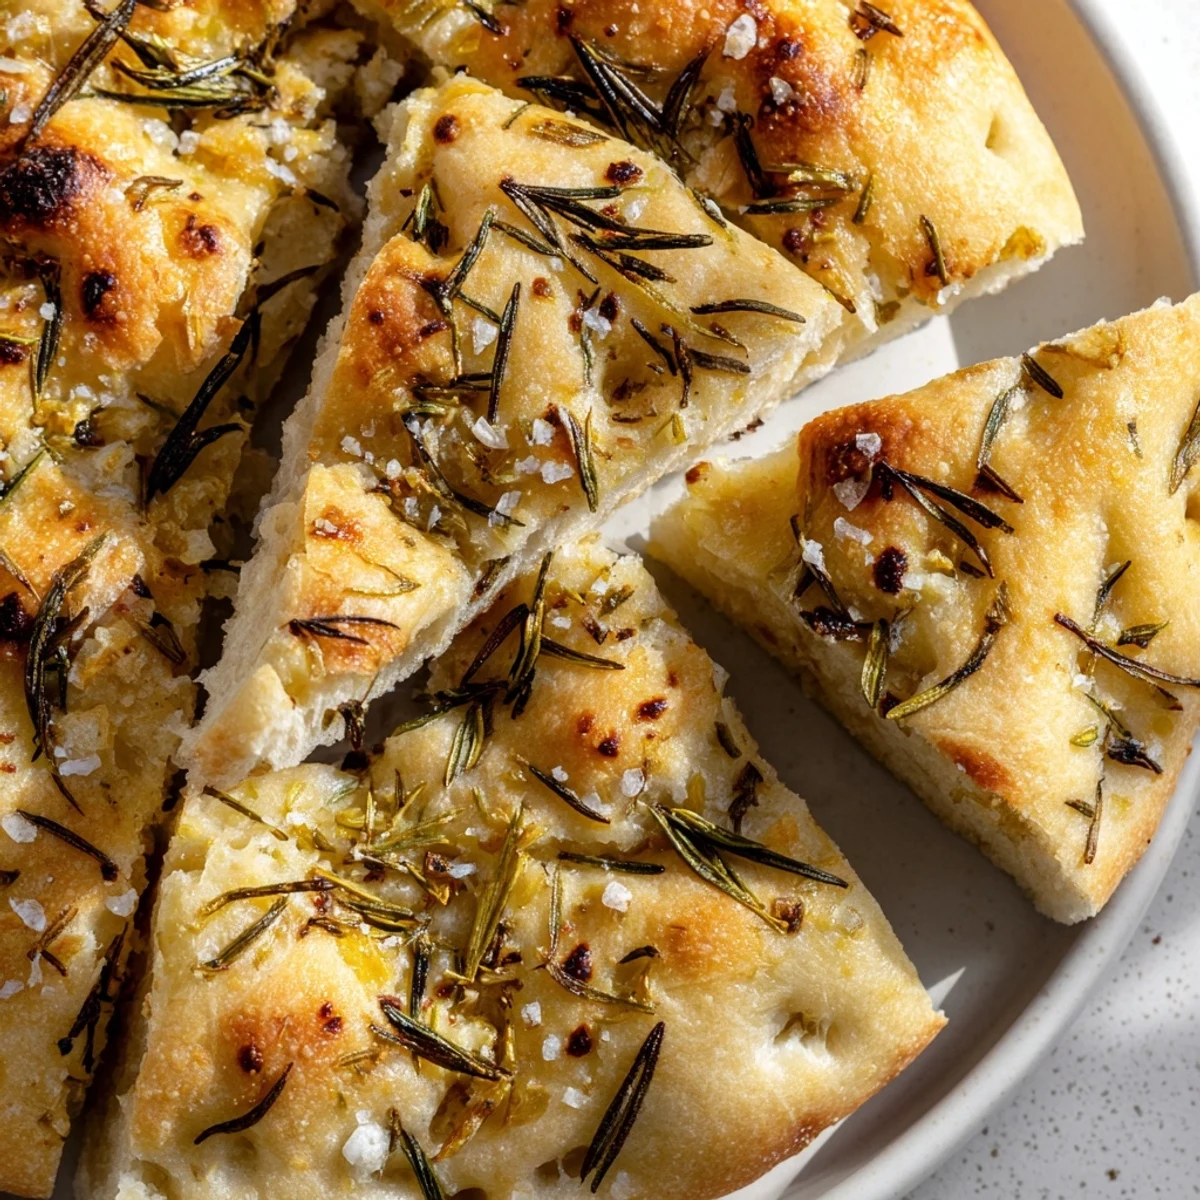
This bread demands to be torn and shared, which is probably why I love it so much. I slice it into wedges like a pizza and set it right on the table with a small bowl of olive oil. People always reach for it first, even before the main course arrives.
Storage And Reheating
Leftovers rarely happen in my house, but on the off chance they do, wrap the bread in a clean kitchen towel and keep it at room temperature for up to two days. Never refrigerate—it turns the crumb into something sad and stale. To refresh, sprinkle with water and warm in a 350°F oven for five minutes.
- Freeze cooled slices in a freezer bag for up to a month
- Toast day-old slices and rub with raw garlic for instant garlic bread
- Cubed and oven-toasted, it makes the most incredible croutons
 Save
Save There's something profoundly satisfying about making your own bread, especially something this simple and rewarding. I hope this recipe finds its way into your regular rotation, bringing warmth and wonderful smells to your kitchen too.
Recipe FAQs
- → Can I use dried rosemary instead of fresh?
-
Dried rosemary works, though fresh provides superior aroma and flavor. If using dried, reduce the amount to 1 tablespoon and add it during the kneading process to help rehydrate the herbs.
- → Do I have to use a cast iron skillet?
-
Cast iron is ideal for even heat distribution and creating a crisp crust, but any oven-safe 10-inch skillet will work. Avoid glass or thin metal pans, as they may not conduct heat as effectively.
- → Can I make the dough ahead of time?
-
Yes, prepare the dough through the first rise, then refrigerate overnight. Let it come to room temperature before pressing into the skillet for the second rise. The extended chilling can actually enhance flavor development.
- → Why is my dough too sticky to handle?
-
Sticky dough is normal for this style—lightly oil your hands rather than adding more flour, which can make the final loaf tough. The high hydration level contributes to the chewy, open crumb texture.
- → How do I know when it's fully baked?
-
The bread should sound hollow when tapped on the bottom, and the internal temperature should reach 200°F. The top will be deep golden brown, and the edges will pull away slightly from the skillet.
- → Can I freeze the baked bread?
-
Wrap cooled slices tightly in plastic and freeze for up to 3 months. Thaw at room temperature, then refresh in a 350°F oven for 5-10 minutes to restore crispness.