 Save
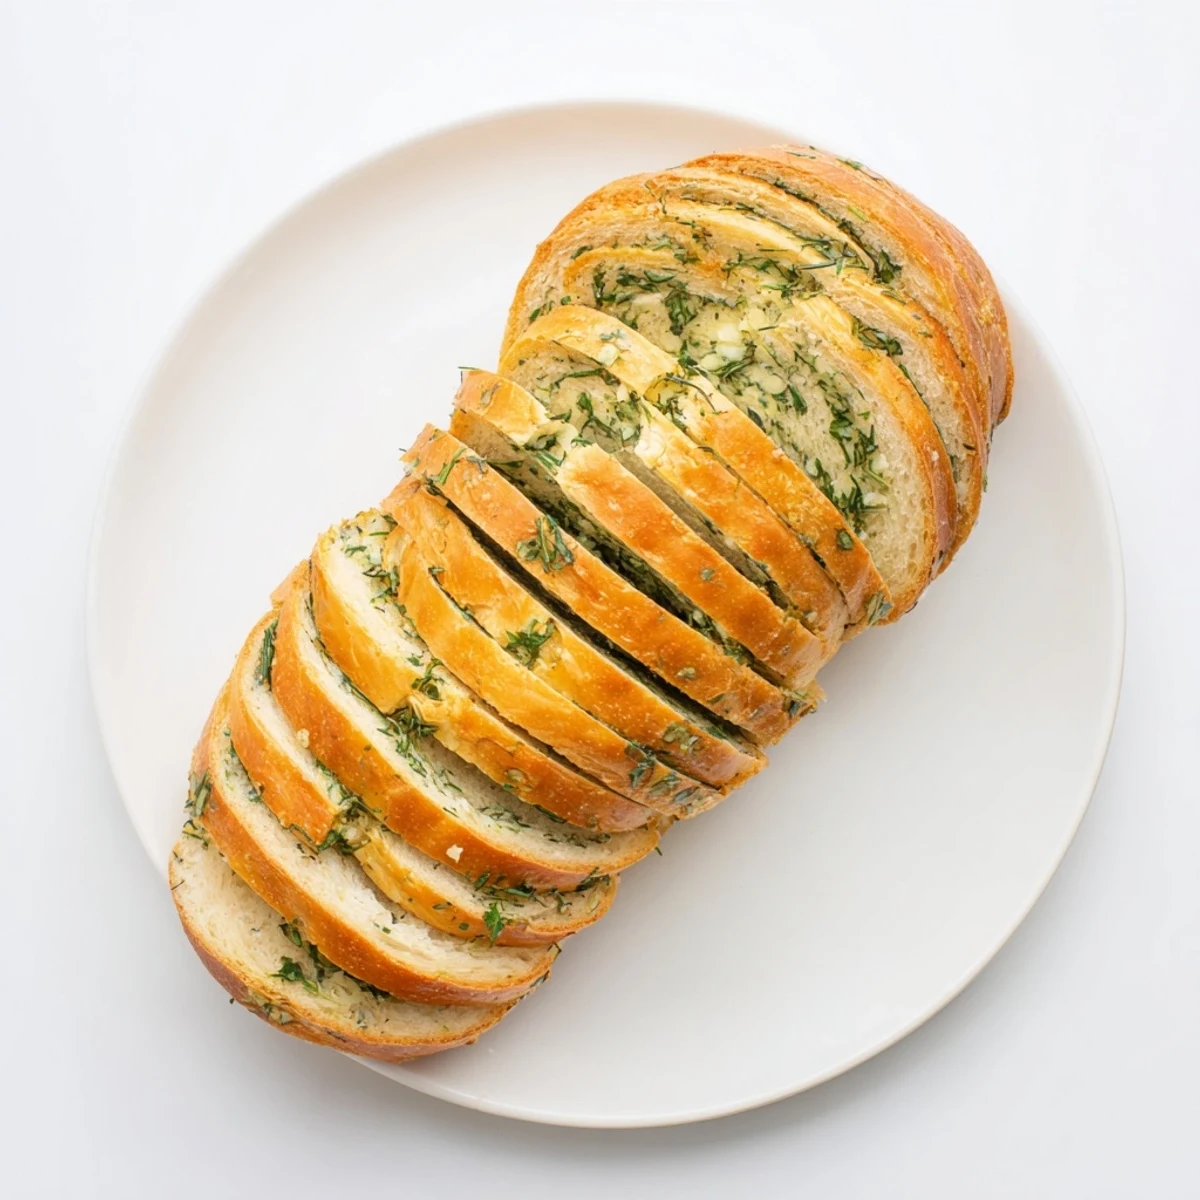
Save This aromatic bread combines a soft, pillowy dough with a rich buttery blend of garlic, parsley, rosemary, and chives. The rising process develops deep flavor while creating that signature fluffy texture we love in homemade loaves.
After kneading and proofing, the dough gets rolled and layered with the seasoned herb butter before being baked to golden perfection. The result is a fragrant, pull-apart creation with a golden crust and tender interior that pairs beautifully with soups, salads, or pasta dishes.
The preparation involves straightforward techniques—mixing, kneading, rising, and baking—making this an accessible project even for those new to bread making. Total hands-on time is just 20 minutes, with the remaining time devoted to the essential rising period that ensures proper texture and height.
The smell of garlic bread drifting from my neighbor's apartment when I was twelve used to drive me absolutely wild with curiosity. I remember pressing my ear against the hallway wall, trying to figure out what made their bread smell so incredible compared to the frozen garlic toast my mom bought. Years later, I finally learned that the secret was infusing butter with fresh herbs and weaving it right into the dough itself. Now my apartment hallway smells like that, and I catch my own neighbors stopping to take deep breaths outside my door.
Last winter my friend Sarah came over for soup after a terrible day at work, and I pulled this bread out of the oven right as she walked in. She took one bite, closed her eyes, and actually said I'm going to remember this bread more than whatever happened today. We ate the entire loaf standing at the counter, burning our fingers on slices that were too hot to touch but too good to wait for. Now every time she visits, she messages me beforehand asking if the garlic bread is happening.
Ingredients
- 3 cups all-purpose flour: The protein structure creates those beautiful interior air pockets while still supporting all that garlicky butter inside
- 1 packet active dry yeast: I learned the hard way that expired yeast makes for very sad, flat bread no matter how long you let it sit on the counter
- 1 tsp sugar: This feeds the yeast and helps develop that gorgeous golden-brown crust we all want
- 1 tsp salt: Essential for flavor, but keep it away from direct contact with the yeast in step one or it will inhibit the rise
- 1 cup warm water: The temperature must feel like comfortably warm bath water, hot enough to wake the yeast but not kill it
- 2 tbsp olive oil: Adds subtle richness and keeps the dough tender
- 4 tbsp unsalted butter, softened: Soft enough to spread easily but not melting, and use unsalted so you can control the seasoning
- 4 cloves garlic, finely minced: Fresh garlic is non-negotiable here, the jarred stuff has an odd cooked flavor that lacks the sharp punch we want
- 2 tbsp fresh parsley: Bright green and grassy, it cuts through the richness of the butter
- 1 tbsp fresh rosemary: Piney and fragrant, this herb can handle the heat of baking without losing its character
- 1 tbsp fresh chives: Mild onion flavor that adds layers without overpowering the garlic
- ½ tsp black pepper and ¼ tsp salt: These season the butter mixture and will create those incredible flavor pockets throughout the loaf
Instructions
- Wake up the yeast:
- Combine the sugar and yeast with warm water in a large bowl, watching for the foam to form on top like tiny bubbles coming to life
- Build the dough:
- Add flour, salt, and olive oil to the yeast mixture, stirring until everything comes together into a shaggy, messy ball
- Knead with intention:
- Turn the dough onto a floured surface and push it away with the heel of your hand, fold it back, and repeat for eight to ten minutes until the dough feels silky smooth
- Let it rest and rise:
- Place the dough in an oiled bowl, cover it with a clean towel, and find the warmest spot in your kitchen for a full hour until it's doubled in size
- Prepare the magic mixture:
- While dough rises, mash softened butter with minced garlic, parsley, rosemary, chives, pepper, and salt until every bit is infused with flavor
- Roll it out:
- Punch down the risen dough gently and use a rolling pin to stretch it into a rectangle about nine by thirteen inches
- Spread the love:
- Cover every inch of the dough surface with that gorgeous garlic herb butter, going all the way to the edges
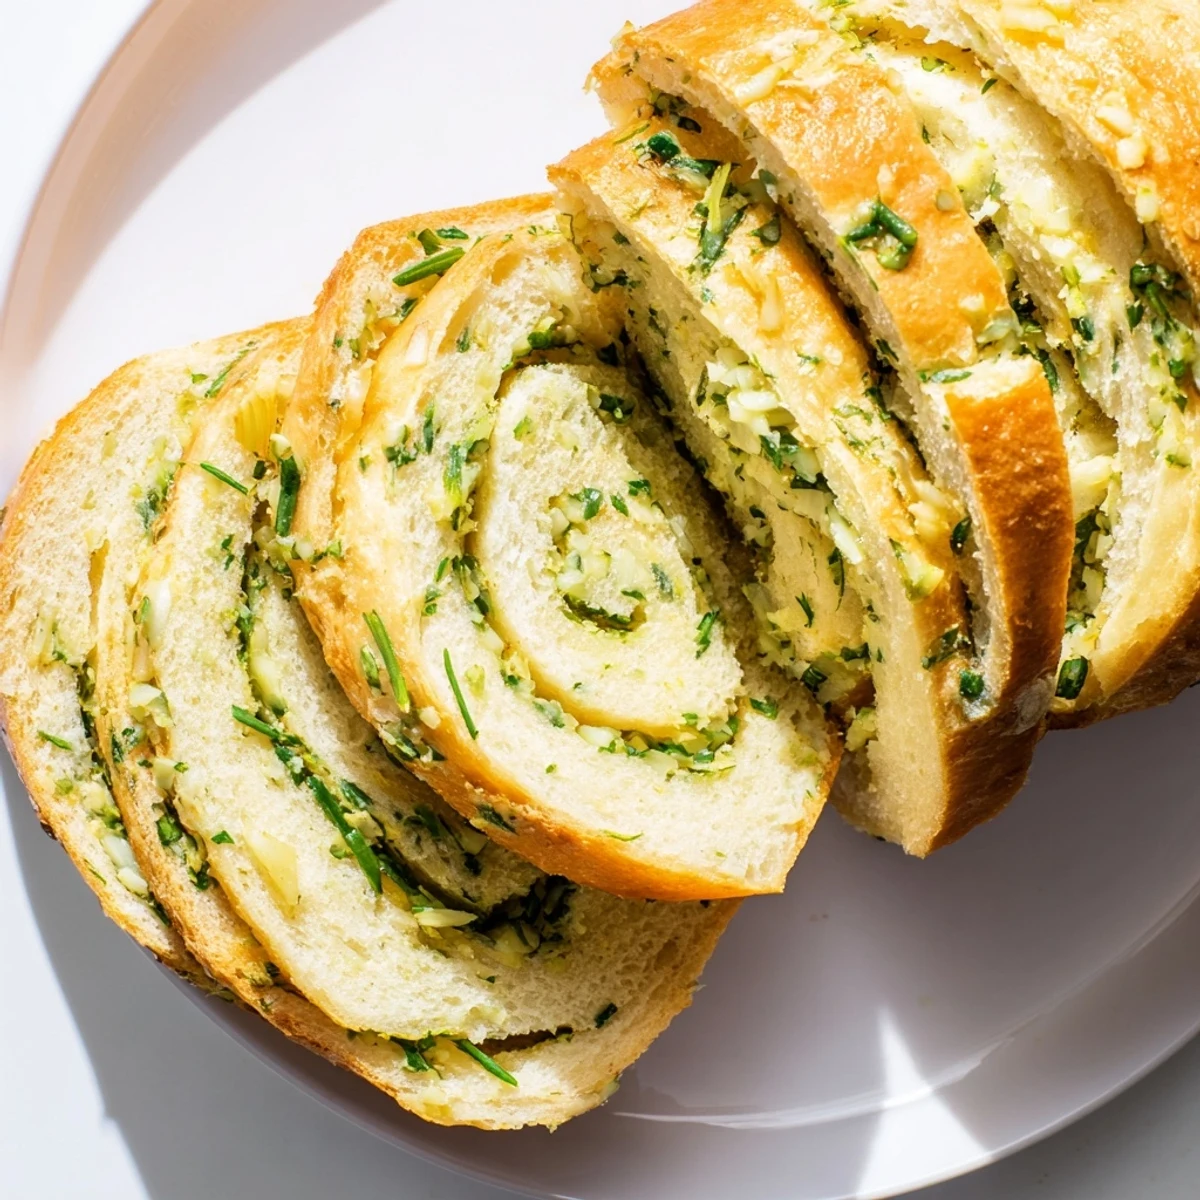
- Roll and tuck:
- Starting from the shorter end, roll the dough tightly into a log and place it seam side down in your greased loaf pan
- Second rise and preheat:
- Cover the pan and let it rise again for thirty minutes while your oven heats to 350°F
- Bake to golden perfection:
- Slide the pan into the oven for thirty to thirty-five minutes, until the top is deeply golden and the bottom sounds hollow when you tap it
- The patience test:
- Let the bread cool in the pan for ten minutes before turning it out, then try to resist slicing into it while it's still steaming hot
 Save
Save This bread became my go-to housewarming gift after I brought it to a friend's new apartment and watched her husband eat three slices straight from the cooling rack. They still text me every few months asking for the recipe, which I happily share but with the warning that it will make them very popular with their neighbors.
Make It Your Own
Sometimes I swap in dried Italian herbs when fresh parsley and rosemary are out of season, and while it's not quite the same, the bread still disappears just as quickly. You can also add grated parmesan to the butter mixture for an extra salty kick that makes it almost meal-worthy on its own.
Storage Secrets
This bread stays surprisingly fresh for two days wrapped in foil on the counter, but the real game-changer is slicing and freezing it before serving. I learned this during a busy week when I baked two loaves, froze one sliced, and discovered that frozen pieces go directly into a 400°F oven for ten minutes and taste freshly baked.
Serving Ideas
While this bread is perfect alongside pasta and soup, I've also used day-old slices to make the most incredible grilled cheese sandwiches. The herbs and garlic already in the bread mean you only need a little extra cheese to create something extraordinary.
- Dip warm slices in marinara sauce for an instant appetizer
- Use slightly stale bread to make croutons that will elevate any salad
- Turn leftovers into the most luxurious bread pudding you've ever tasted
 Save
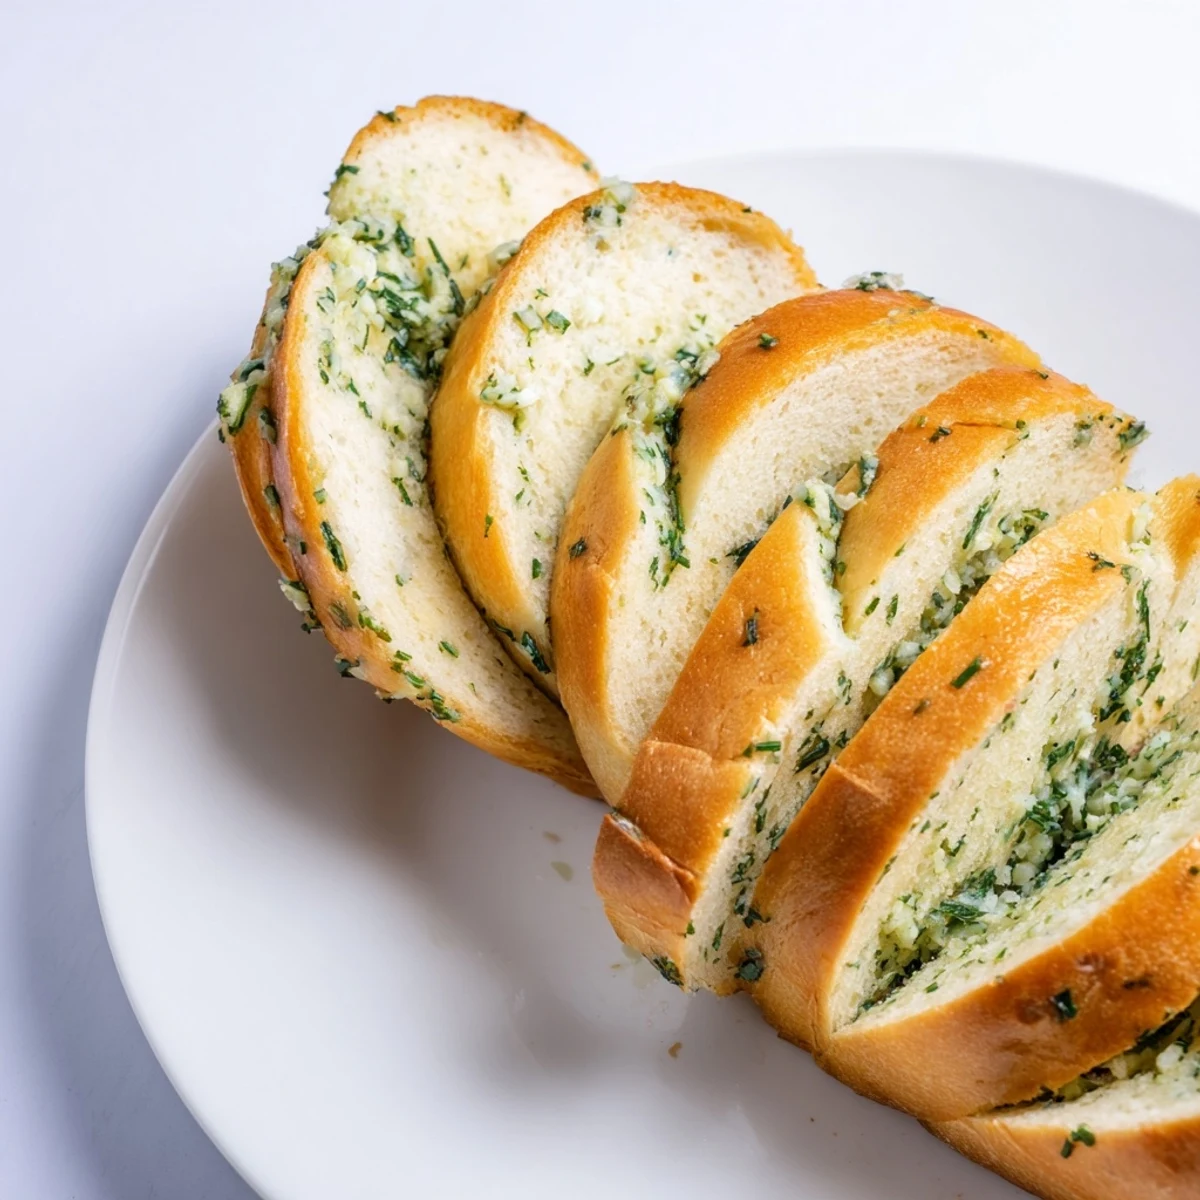
Save There is something deeply satisfying about pulling a homemade loaf from the oven, watching steam rise off the golden crust, and knowing you made something that brings people together around the table.
Recipe FAQs
- → Can I use dried herbs instead of fresh?
-
Yes, substitute the fresh herbs with 1½ teaspoons of dried mixed Italian herbs. The flavor will be slightly more concentrated, so adjust to taste.
- → How do I know when the bread is done baking?
-
The bread is ready when the top is golden brown and it produces a hollow sound when tapped on the bottom. This typically takes 30–35 minutes at 350°F (175°C).
- → Can I make this vegan?
-
Absolutely. Replace the unsalted butter with your preferred plant-based butter alternative. The texture and flavor remain excellent.
- → How should I store leftovers?
-
Wrap the cooled loaf tightly in plastic wrap or place in an airtight container. It will keep at room temperature for 2–3 days or freeze for up to 3 months. Reheat gently before serving.
- → Why does the dough need to rise twice?
-
The first rise allows the yeast to ferment and create air pockets, developing flavor and structure. The second rise after shaping gives the final volume and ensures a light, fluffy texture in the baked loaf.
- → Can I prepare the dough ahead of time?
-
Yes, after the first rise, you can refrigerate the dough overnight. Bring it to room temperature before rolling and shaping. This can actually enhance the flavor development.