 Save
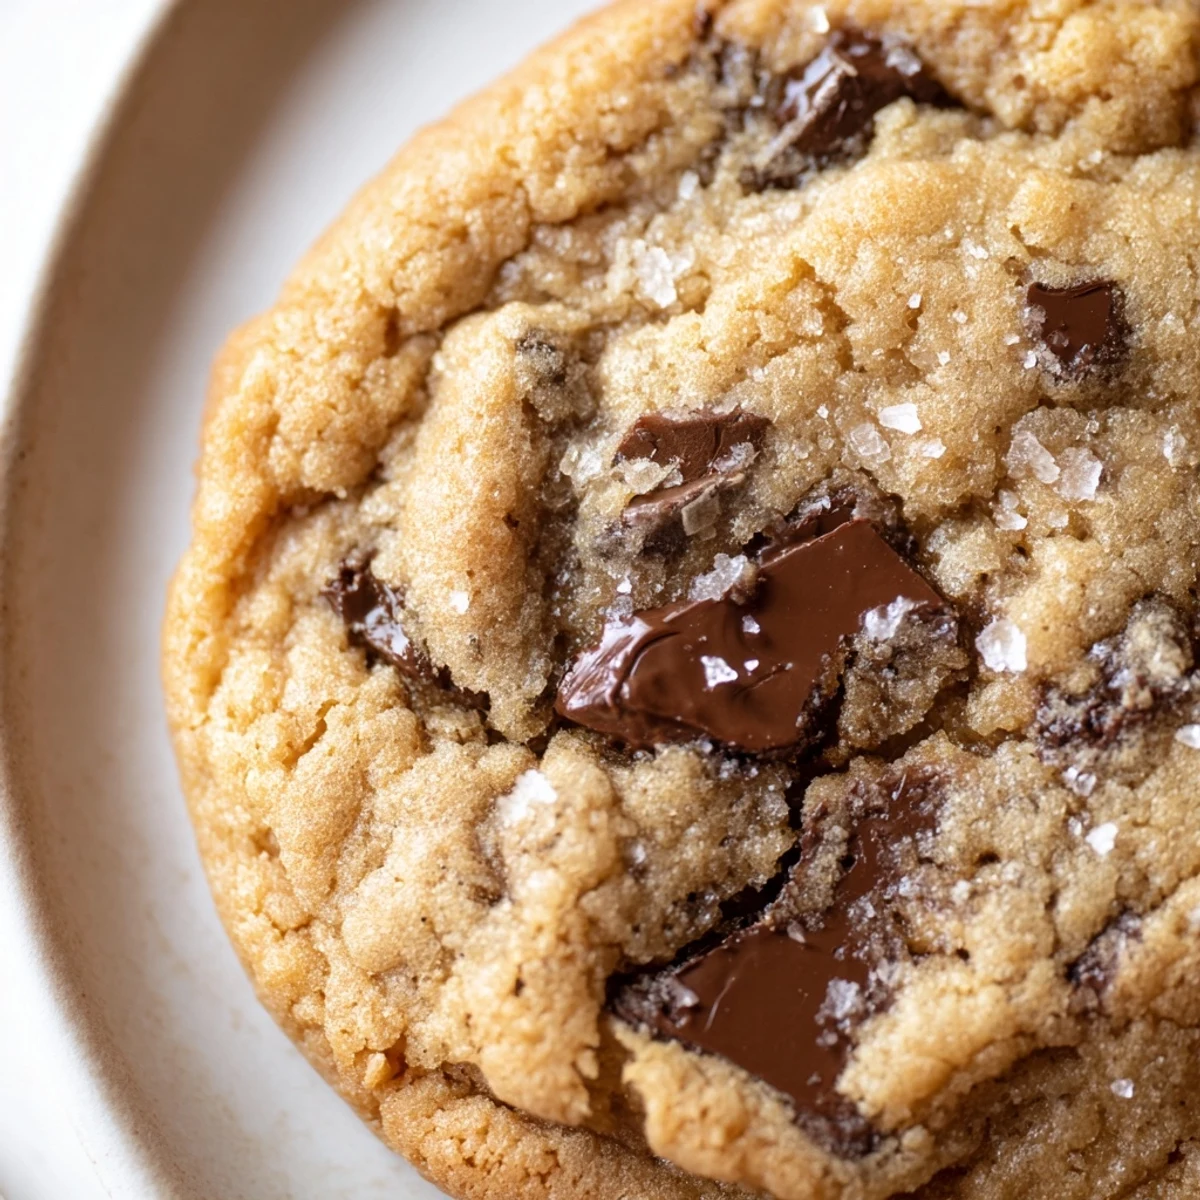
Save These soft and chewy chocolate chip cookies deliver all the classic flavor you love without any nuts. The dough comes together quickly with softened butter, granulated and brown sugar, and vanilla extract. After creaming the butter and sugars until fluffy, eggs are beaten in before gradually adding the dry ingredients. The key to perfect texture is baking until edges are golden while centers remain slightly soft. For extra chewiness, chill the dough for 30 minutes before scooping. Always verify your chocolate chips are certified nut-free when preparing for those with severe allergies.
My apartment hallway always gave me away. That warm butter and vanilla scent would drift right under my neighbors' doors, and before long someone's knocking with their own mug of milk. The best part of these cookies isn't just that they're nut-free, it's watching someone who usually has to pass on treats bite into something that feels completely normal and absolutely delicious.
Last summer I made these for a block party. A dad stood near the dessert table for ten minutes just watching his daughter eat cookie after cookie, finally telling me she'd never been able to grab from a cookie jar without supervision. That's the kind of kitchen moment that sticks with you.
Ingredients
- All-purpose flour: The foundation that gives these cookies their classic structure and bite
- Baking soda: Creates those perfect little cracks and spread we all want in a chocolate chip cookie
- Salt: Don't skip this. It balances the sweetness and makes chocolate taste more chocolatey
- Unsalted butter: Softened to room temperature so it creams perfectly with the sugars
- Granulated sugar: Helps create crisp edges while the centers stay tender
- Light brown sugar: Packed tight for moisture and that deep caramel flavor we love
- Eggs: Use large eggs straight from the fridge, they help bind everything together
- Pure vanilla extract: Two full teaspoons because vanilla is the backbone of cookie flavor
- Nut-free semi-sweet chocolate chips: Read those labels carefully and grab a certified nut-free brand
Instructions
- Get your oven ready:
- Preheat to 350°F and line two baking sheets with parchment paper so nothing sticks
- Whisk the dry team:
- In a medium bowl combine flour baking soda and salt then set it aside
- Cream the butter and sugars:
- Beat softened butter with both sugars until fluffy about two to three minutes
- Add the eggs and vanilla:
- Drop in eggs one at a time mixing well then pour in that vanilla extract
- Bring it all together:
- Gradually mix in your dry ingredients just until combined then fold in the chocolate chips
- Scoop and space:
- Drop rounded tablespoons of dough onto baking sheets about two inches apart
- Bake to golden perfection:
- Pop them in for 9 to 11 minutes until edges are golden but centers still look soft
- The hardest part:
- Let them cool on the baking sheets for five minutes before moving to a wire rack
 Save
Save These became my go-to school treat after my son's teacher pulled me aside to thank me for sending something everyone could eat. She said watching kids with allergies happily grab cookies alongside everyone else was the highlight of her month.
Making Them Extra Chewy
I discovered by accident that refrigerating the dough overnight creates the most incredible texture. The flour hydrates slowly and the flavors deepen, making each bite taste like it came from a bakery. Just let the dough sit in the fridge and bake whenever you're ready.
Mix-In Variations
Sometimes I swap half the chocolate chips for nut-free white chocolate pieces or dried cranberries. The contrast between dark and white chocolate is pretty outstanding, and dried fruit adds this lovely tartness that cuts through all that sugar. Just keep the total add-ins around two cups.
Storage And Freezing
These cookies stay soft in an airtight container for four days, though they've never lasted that long at my house. You can also freeze the baked cookies for up to three months or freeze scoops of dough to bake fresh whenever the craving hits.
- Place a piece of bread in the cookie container to keep them soft longer
- Warm frozen cookies at 300°F for 5 minutes to bring back that fresh-baked texture
- Label frozen dough with the baking temperature so you don't have to look it up later
 Save
Save There's something deeply satisfying about watching everyone at a table reach for the same plate without hesitation. These cookies prove that safe baking doesn't mean sacrificing anything that matters.
Recipe FAQs
- → Are these cookies completely nut-free?
-
Yes, these cookies contain no nuts or nut-derived ingredients. However, always check your chocolate chips and other ingredients for certification as nut-free to avoid cross-contamination in facilities that process nuts.
- → How do I make the cookies extra chewy?
-
Chill the dough for 30 minutes before baking. This helps the cookies hold their shape and develop a chewier texture. Also, avoid overbaking—remove them when edges are golden but centers still look slightly soft.
- → Can I substitute the chocolate chips?
-
Absolutely! You can use nut-free white chocolate chips, dried fruit like cranberries or raisins, or even a combination of both. Just ensure any substitute ingredients are also certified nut-free.
- → Why should I chill the dough?
-
Chilling the dough for 30 minutes prevents excessive spreading during baking, enhances the chewy texture, and allows flavors to meld together for a richer taste.
- → How should I store these cookies?
-
Store completely cooled cookies in an airtight container at room temperature for up to 5 days. For longer storage, freeze the baked cookies or scoop and freeze the dough to bake fresh later.
- → What makes these cookies allergy-friendly?
-
These cookies are free from nuts and nut products, making them suitable for those with nut allergies. They're also vegetarian-friendly. Always read ingredient labels carefully to ensure all components meet your specific dietary needs.