 Save
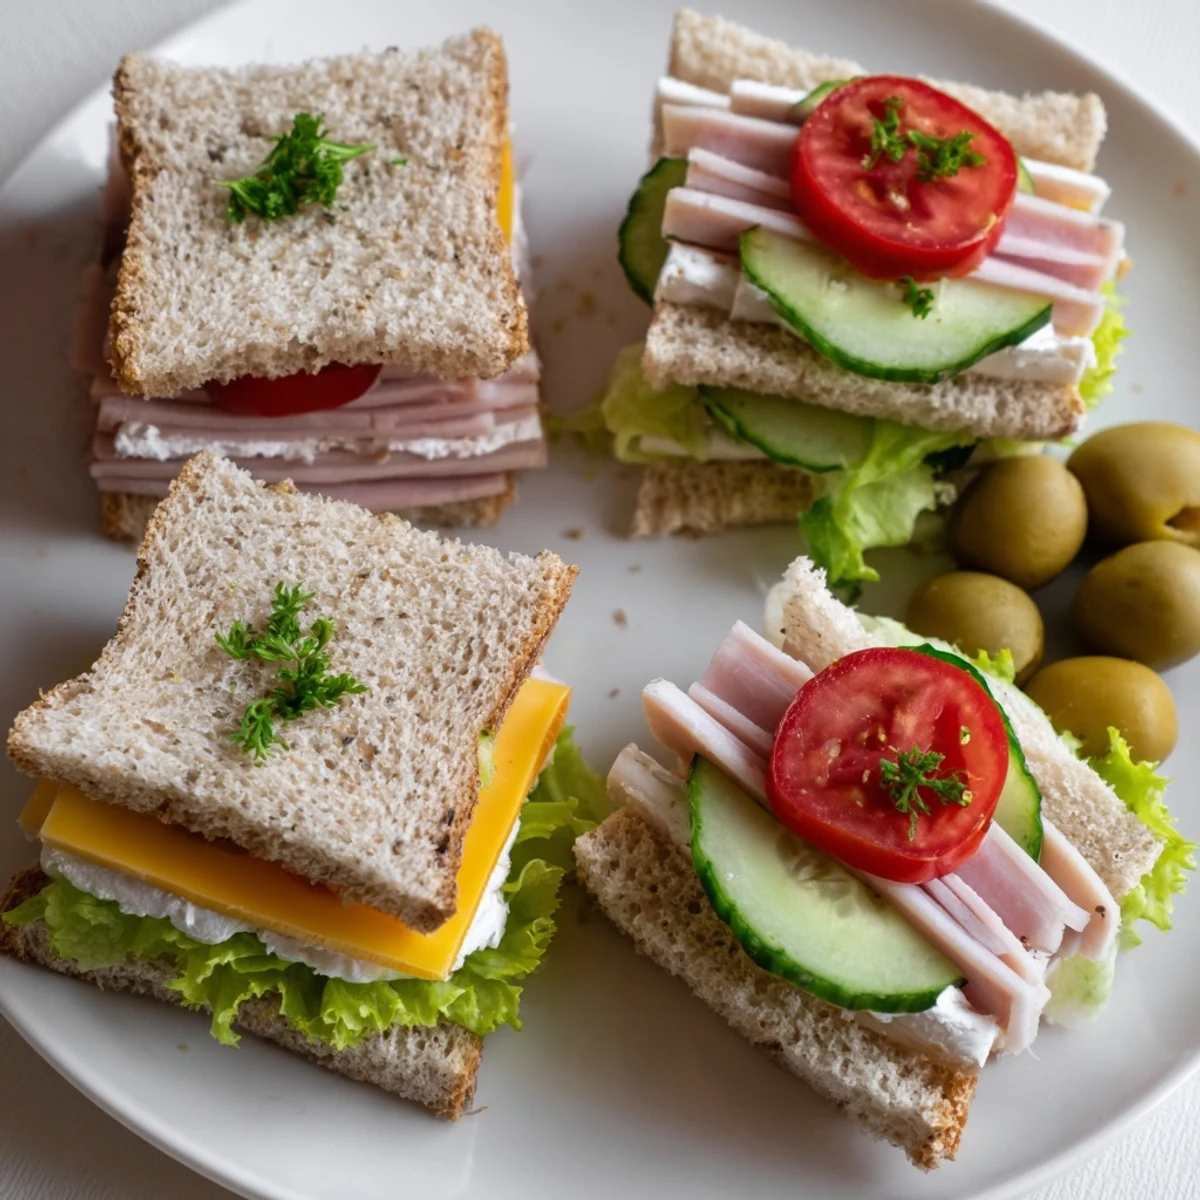
Save These mini sandwiches assemble in minutes using soft sandwich bread spread with mayonnaise or cream cheese and topped with cheddar, ham or fresh vegetables. Trim crusts and cut each sandwich into quarters to yield about 16 bite-sized pieces ideal for parties, picnics, or snacks. No cooking required; swap fillings like smoked salmon, egg salad, or roasted vegetables and garnish with herbs, pickles, or olives.
There was a quiet afternoon last spring when I found myself balancing stacks of bread and jars of spreads, radio humming in the background, my kitchen table taken over by sandwich assembly. Something about the simple act of layering fresh ingredients onto pillowy bread made the gray weather outside feel utterly irrelevant. The rhythm—spread, stack, slice—became its own kind of comfort. Each mini sandwich was a cheerful promise of small, flavorful bites, ready for any gathering or spontaneous snack attack.
I remember putting together a surprise picnic for my sister’s birthday, cross-legged on a checkered blanket, the sandwiches stacked high and passed around with laughter. She joked that the tiny, crustless sandwiches made us feel like kids at a fancy tea party—right there under the maple tree, with crumbs in our hair and juice on our fingers.
Ingredients
- Bread: Freshness is key here—soft sandwich bread (white, whole wheat, or a cheerful mix) makes those delicate bites extra satisfying, and I’ve learned that letting the bread sit out for a few minutes prevents it from tearing as you spread.
- Mayonnaise: The creamy tang ties all the flavors together, and if you’re feeling bold, add a dash of Dijon for a little kick.
- Cream Cheese: Softened cream cheese gives a gentle richness, and is easiest to spread after a few minutes at room temp.
- Cheddar Cheese: I find mild cheddar melts just so into the bread, never overpowering but always adding depth.
- Ham or Turkey: Omit these for a vegetarian platter, but when added, they offer a hearty, salty bite—layer thinly for best results.
- Cucumber: Crisp, thin slices provide freshness; I blot them dry with a paper towel so the sandwiches don’t get soggy.
- Tomato: Juicy rounds of tomato balance the richness—always season them before layering.
- Lettuce: A few leaves for crunch; use dry, sturdy varieties so the sandwiches stay perky, not limp.
- Salt and Pepper: A pinch of each transforms the vegetables—don’t skip this step.
- Fresh Herbs, Pickles, Olives (optional): A sprinkle of chopped chives or sprigs of dill, plus a few pickles or olives on top, bring instant flair to your platter.
Instructions
- Set up your station:
- Lay all your bread slices in rows on a large board or clean counter, so you’ve got plenty of room for assembly.
- Spread with love:
- Using a small spatula or butter knife, gently smooth mayonnaise or cream cheese right to the edges of each slice, taking care not to tear the bread.
- Layer the fillings:
- For some sandwiches, lay down cheese with ham or turkey; on others, arrange cucumber, tomato, and lettuce—don’t forget a sprinkle of salt and pepper for brightness.
- Build and press:
- Top each sandwich with a second slice of bread, then give a gentle press with your palm for neatness.
- Trim and cut:
- Slice off the crusts if you want a tidy look, then cut each sandwich into quarters, making bite-sized squares or triangles.
- Serve with style:
- Arrange them artfully on a platter, and if you’re feeling fancy, tuck in herbs, pickles, or olives for a festive finish.
 Save
Save One afternoon, I found an extra plate of these left on the counter after friends had gone home, and as I grabbed a piece, I realized these little sandwiches felt less like party food and more like a gesture—bite-sized care, assembled with hands and heart.
Make Them Your Own
It’s impossible not to play around: sometimes I swap in roasted vegetables, a swipe of pesto, or even a bit of smoked salmon if I’m feeling celebratory. Every batch ends up reflecting who’s at the table or what’s in my fridge, and that flexibility means no two platters are ever the same.
Keeping Things Fresh
If I’m prepping ahead, I always cover finished sandwiches with a just-damp paper towel and wrap them loosely in plastic wrap. They stay soft and fresh, even if I make them a couple of hours before guests arrive.
Presentation that Pops
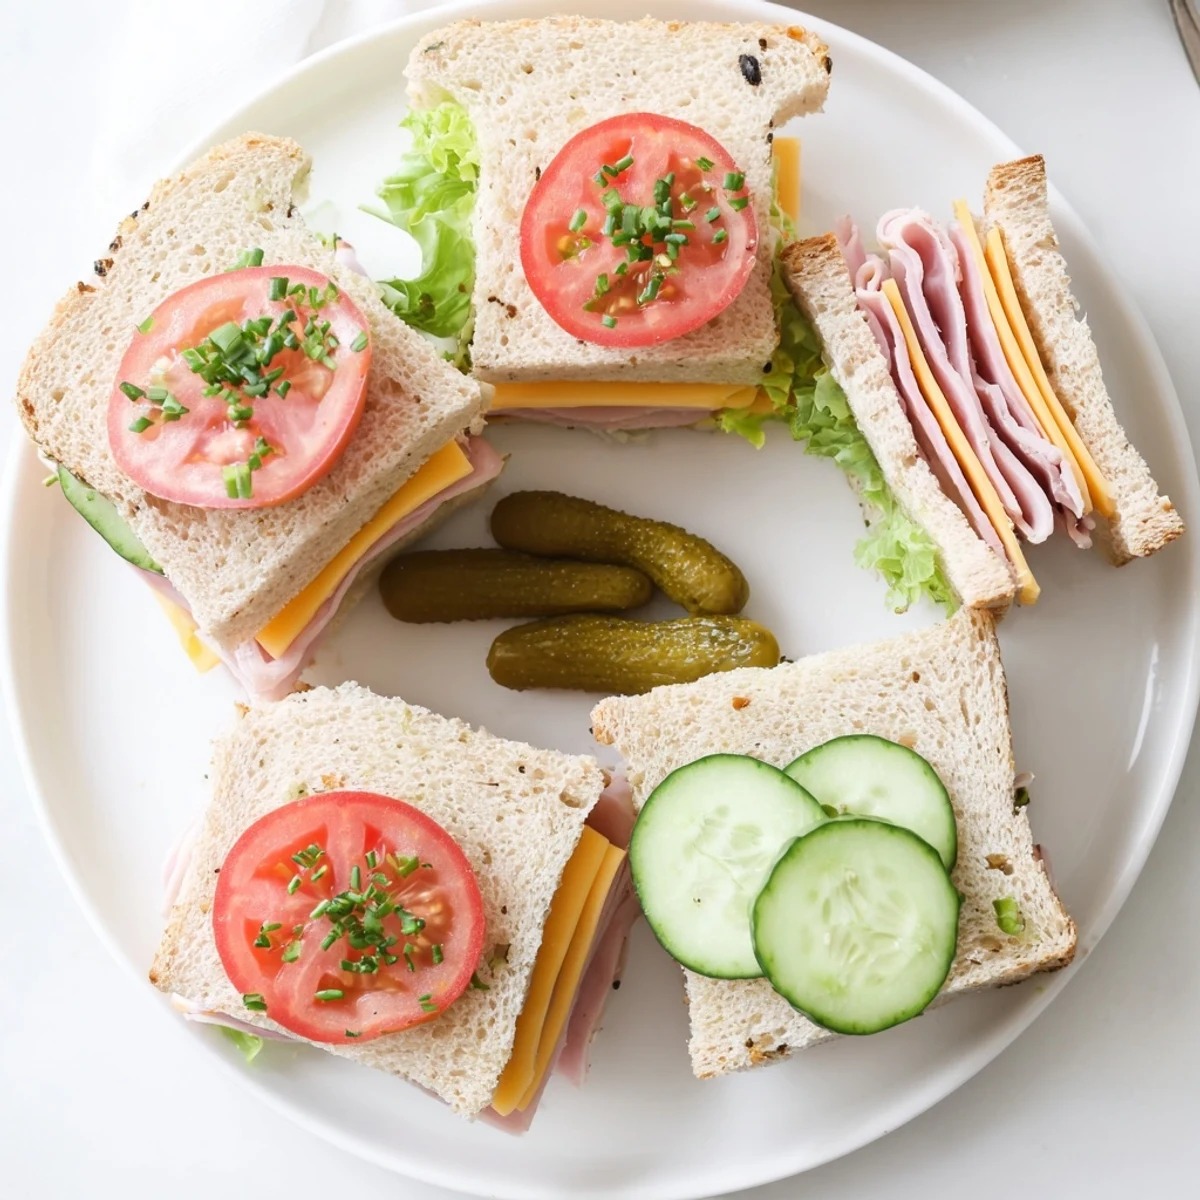
I love turning a basic sandwich platter into a centerpiece: bright herbs, a scatter of pickles, and a mix of shapes can make even a Tuesday lunch feel special.
- Arrange sandwiches in neat rows or playful circles.
- Mix white and dark breads for color contrast.
- Use tiny toothpicks with olives or cornichons—instant charm.
 Save
Save No matter the crowd, these mini sandwiches bring people together with their simple promise: a handful of flavors, shared, and enjoyed in good company.
Recipe FAQs
- → How do I prevent soggy bread?
-
Spread a thin layer of cream cheese or butter on the bread to create a moisture barrier, pat tomatoes and cucumbers dry, and assemble just before serving when possible.
- → What breads work best?
-
Soft sandwich breads such as white, whole wheat, rye, or multigrain all work well; using a mix adds color and flavor contrast on a platter.
- → Can these be made ahead?
-
Assemble up to 2 hours ahead and store covered in the fridge with a damp paper towel over the platter to keep bread soft; avoid adding very wet ingredients until just before serving.
- → How can I make more vegetarian options?
-
Use cream cheese, roasted vegetables, sliced avocado, cucumber, tomato, egg salad, or smoked tofu as flavorful vegetarian fillings and vary herbs for brightness.
- → Tips for neat, uniform cutting?
-
Gently press sandwiches before trimming crusts, use a sharp knife and a single straight cut motion, and cut each sandwich into quarters for consistent bite-sized pieces.
- → How should I serve and garnish them?
-
Arrange on a platter with fresh chopped herbs, small pickles or olives, and toothpicks if desired; pair with sparkling water, light white wine, or lemonade.