 Save
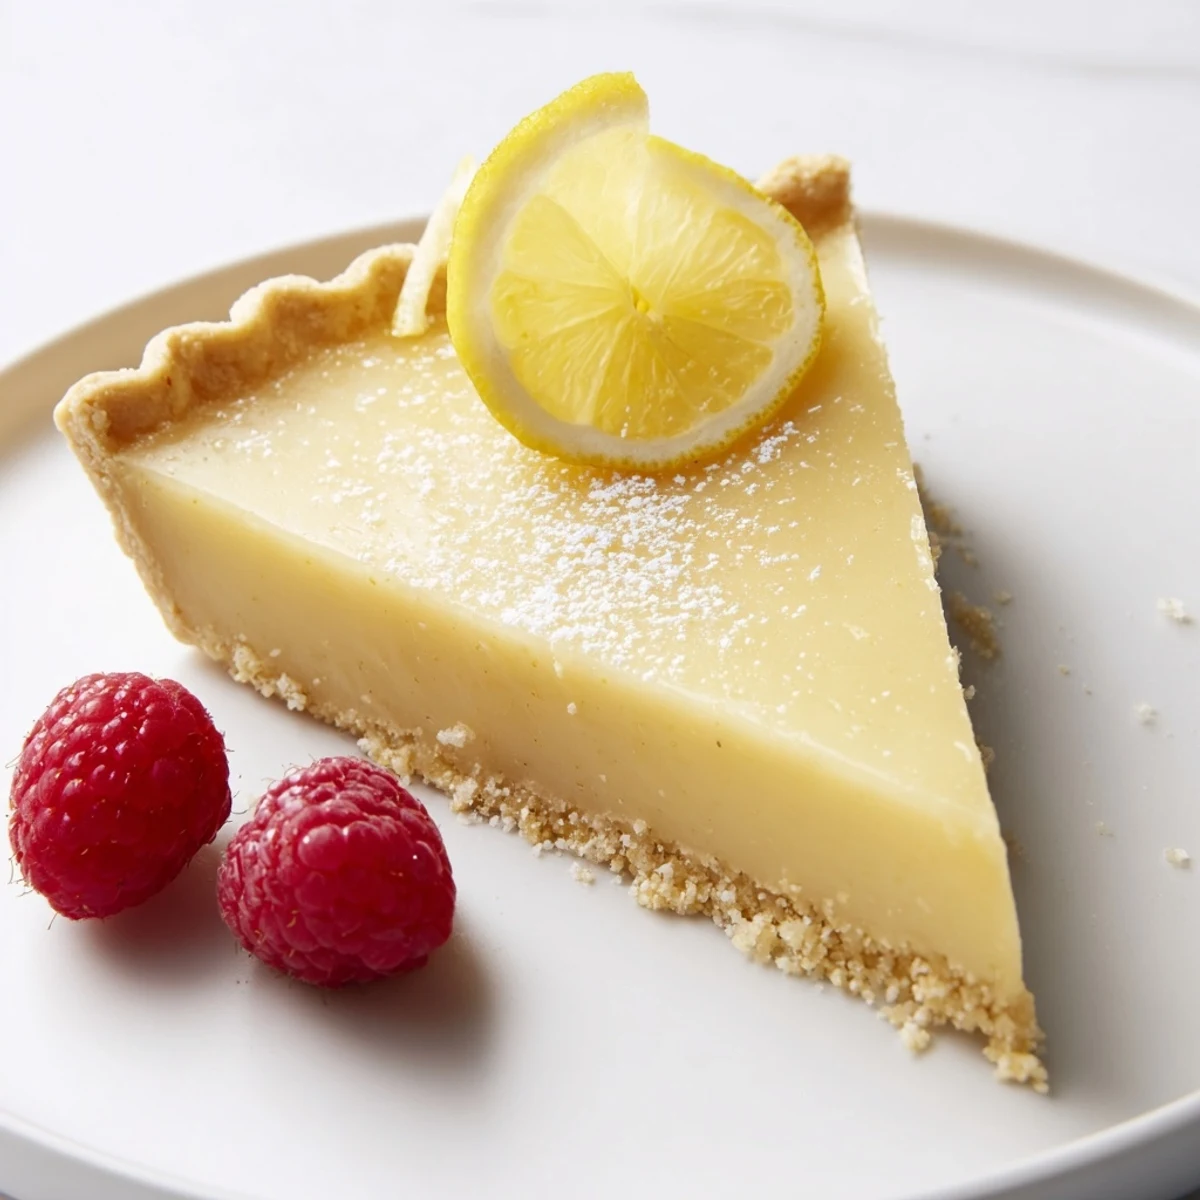
Save This tart pairs a silky lemon custard - made from heavy cream, whole eggs, egg yolks, sugar, grated lemon zest and fresh lemon juice - with a crisp, buttery shortcrust. Blind-bake the shell until golden, remove weights, then pour the smooth filling and bake gently until edges are set but center still trembles. Chill thoroughly to firm the filling before slicing; finish with powdered sugar and berries.
The first time I made a creamy lemon tart, I didn’t realize how much the kitchen would fill with the crisp scent of zest—tangy and sweet all at once. The gentle hum of the food processor competing with the snap of butter meant a promise of buttery crumbs under my fingers. I was drawn to this dessert for how it balances sunshine-bright flavor with silken richness. Something about the transformation from simple ingredients to a cool, sliceable delight always feels a little magical.
I once brought this tart to a friend’s garden lunch in early spring, and as I dusted it with powdered sugar, sunlight danced across the surface. Friends swapped stories over slices, and someone insisted on taking the last forkful right from the pan. There was a happy debate about whether berries or candied lemon was the ultimate topping. For me, it was the laughter in the air that made the tart taste even brighter.
Ingredients
- All-purpose flour: The structural foundation—sifting it first avoids tough pockets and creates that crisp, tender shell.
- Powdered sugar: Lends a super-fine sweetness to the crust, making each bite melt away.
- Salt: Just a pinch sharpens every flavor note—don’t skip it.
- Unsalted butter: Keep it cold and cut in quickly; visible bits mean a flakier crust.
- Egg yolk: Adds richness and binds the dough without making it dry.
- Cold water: Trickling in slowly helps you stop before the dough gets sticky; less is more for tenderness.
- Heavy cream: This is the secret to creamy filling—don’t substitute with milk if you want real silkiness.
- Granulated sugar: Brightens the tart’s lemony tang.
- Eggs & egg yolks: A mix ensures the filling sets softly, not stiffly.
- Lemon zest: I always zest directly over the bowl so none of the oils are lost in transit.
- Fresh lemon juice: Bottled just can’t compare—squeeze it right before you need it for zing.
- Pinch of salt: In the filling, it contrasts the sweet and tart in the most delightful way.
- Powdered sugar, fresh berries, candied lemon slices: Each makes a stunning finish—sometimes I can’t choose and use all three.
Instructions
- Get the oven ready:
- Set it to 350°F (175°C), and as you do, picture how golden your crust will turn—worth the wait.
- Blend your dry base:
- Pulse your flour, powdered sugar, and salt until just combined, listening for that gentle rattle in the bowl.
- Butter in, quick as you can:
- Add cubed butter and pulse—watch for that moment when it looks like coarse sand and some pea-sized bits remain.
- Bind it with yolk and water:
- Add yolk and a little cold water, then pulse briefly—you want it to come together just when pinched.
- Shape and chill:
- Turn dough onto a floured counter, press into a disk, wrap up snug, and give it 30 minutes in the fridge to relax.
- Roll and fit the tart pan:
- Roll dough (not too thin!) and ease into your tart pan, trimming with a gentle hand; prick the base and freeze briefly to prevent shrinking.
- Blind bake for crispness:
- Line with parchment, add pie weights, bake 15 minutes, then go another 8–10 minutes naked until just golden.
- Prep the creamy filling:
- Turn oven down to 300°F (150°C). Whisk cream, sugar, eggs, yolks, zest, juice, and salt—it should look dreamy and pale.
- Fill & bake:
- Pour into warm crust and bake 20–25 minutes; edges will puff, center should jiggle like set custard.
- Cool, then chill:
- Let tart cool completely, then move to the fridge for at least an hour—it sets to the perfect sliceable texture this way.
- Dress it up to finish:
- Dust with powdered sugar, scatter fruit or lemon slices, and serve with pride.
 Save
Save There was a birthday once when dessert was left up to me, and this tart stole the spotlight, candlelight glinting off berry-topped slices. I’ll never forget the collective pause after the first bite, a silence filled with creamy, lemony surprise—everyone just smiled at each other, knowing we’d found a new favorite.
How to Get the Creamiest Filling
It helps to bring your eggs and cream to room temperature before mixing—less shock in the oven means a smoother custard. When whisking, blend gently so you don’t incorporate too much air. Pour the mixture slowly into the crust; this helps it settle evenly without spilling over the edges.
Making the Crust Foolproof
Cold butter is the most important thing for a flaky, sandy texture. I sometimes cube it and pop it in the freezer for five minutes. Never overwork your dough, and don’t forget to give the pan a little tap to help the dough settle into those pretty fluted edges.
Finishing Touches That Impress
Try setting a fine mesh sieve over the tart for a snowfall of powdered sugar just before serving—the effect is almost as delightful as the taste. Even a simple handful of fresh berries or a spiral of candied lemon brightens the whole presentation. No need to overcomplicate; your tart is already the star.
- Run a hot knife under water for perfect, clean slices.
- If using berries, blot them dry first to avoid juicy streaks on the filling.
- Chill leftovers uncovered for the first hour to prevent condensation, then cover loosely.
 Save
Save When you share a slice of this tart, time seems to slow just enough to appreciate tang, cream, and crispness together. Keep your lemons handy—someone always asks for seconds.
Recipe FAQs
- → How long should I blind-bake the crust?
-
Blind-bake with parchment and weights for about 15 minutes, remove the weights and bake another 8–10 minutes until the crust is golden. Freezing 10 minutes before baking helps prevent shrinking and keeps the edges crisp.
- → How can I prevent the lemon filling from curdling?
-
Whisk the eggs and yolks gently with sugar, then add cream and lemon gradually. Bake at a moderate temperature and stop when edges are set but the center still trembles to avoid overcooking; chilling will finish the set.
- → Can I make a gluten-free crust?
-
Yes—use a 1:1 gluten-free flour blend and chill the dough well before rolling. Pressing into the tin rather than rolling can help if the dough is more fragile; bake as directed, watching for a slightly different browning.
- → How do I know when the tart is done baking?
-
The edges should look set and slightly puffed while the center remains just slightly jiggly when you gently shake the pan. It will firm up as it cools and chills, yielding a silky texture.
- → How should I store leftovers and how long do they keep?
-
Cover tightly and refrigerate for up to 3 days. For best texture, slice chilled servings straight from the fridge; bring to room temperature briefly if you prefer a softer feel, but avoid long warm periods.
- → Any tips for flavor variations or additions?
-
Fold in a teaspoon of vanilla for extra aroma, add a touch of finely grated citrus zest for brightness, or serve with fresh berries or a drizzle of reduced citrus syrup to amplify the tang.