
 Save
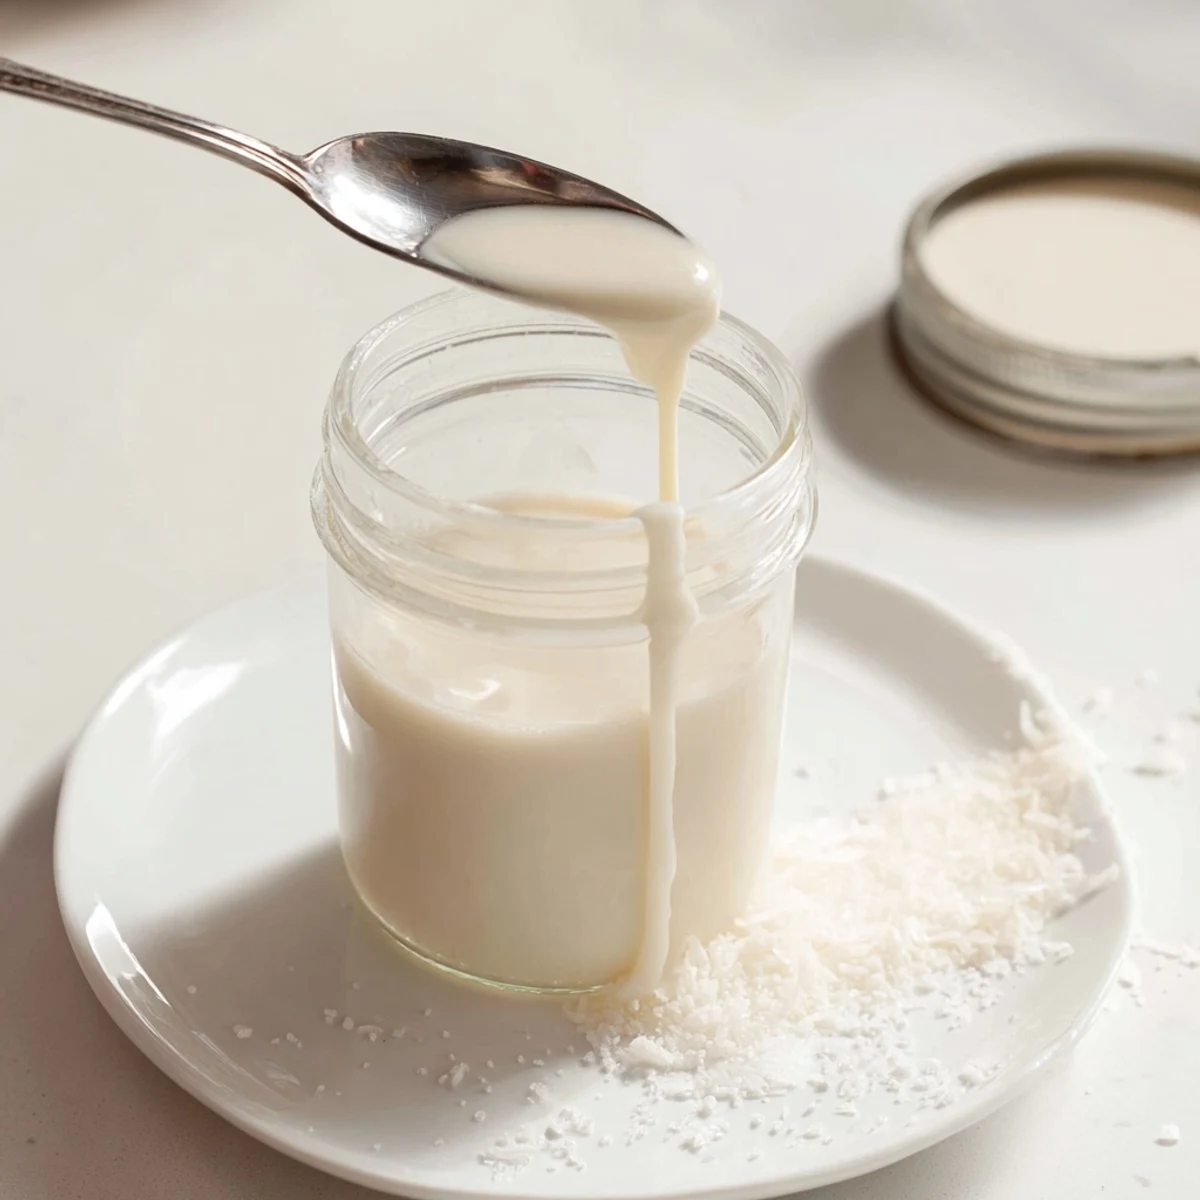
Save This condensed coconut milk delivers the same luscious, pourable sweetness you expect from traditional condensed milk—without any dairy. Made by gently simmering full-fat coconut milk with sugar and a pinch of salt, the mixture reduces down into a thick, golden syrup that's ideal for drizzling over desserts, stirring into coffee, or using in your favorite baked treats.
The entire process takes about 40 minutes of mostly hands-off simmering. As it cools, it thickens even further into that classic spoonable consistency. Store it in the fridge for up to a week and simply stir or warm gently if separation occurs.
The smell of caramelizing coconut milk drifting through the kitchen on a rainy Tuesday afternoon is something I did not expect to memorize, but here we are. I was trying to make a vegan banoffee pie for a friend who swears dairy is the enemy, and this little two ingredient wonder saved the entire dessert. It took me one burned batch to learn patience, but once I got it right, I started keeping a jar in the fridge at all times.
My friend Laura dipped her finger into the still warm saucepan, declared it better than the canned stuff, and immediately asked if she could take the rest home in a jar.
Ingredients
- 1 can (400 ml) full fat coconut milk: Full fat is non negotiable here, the low fat versions simply will not give you that velvety thickness.
- ½ cup (100 g) granulated sugar: White sugar keeps the color pale, but coconut sugar gives you a gorgeous caramel depth if you want to experiment.
- 1 pinch of salt: Just a tiny pinch balances the sweetness and makes the flavor taste more rounded.
- ½ tsp vanilla extract (optional): I always add it because warm vanilla makes everything taste like it came from a bakery.
Instructions
- Combine everything in the pan:
- Pour the coconut milk and sugar into a medium saucepan, add the salt, and whisk gently over medium heat until the sugar completely disappears into the liquid.
- Bring to a gentle simmer:
- Watch for tiny bubbles around the edges and stir frequently so nothing sticks or scorches at the bottom.
- Low and slow reduction:
- Turn the heat down to low and let it barely simmer for 35 to 40 minutes, stirring every few minutes, until the mixture has reduced by about half and coats the back of a spoon.
- Finish with vanilla and cool:
- Remove from heat, stir in the vanilla if using, and let it sit because it will thicken dramatically as it cools down.
 Save
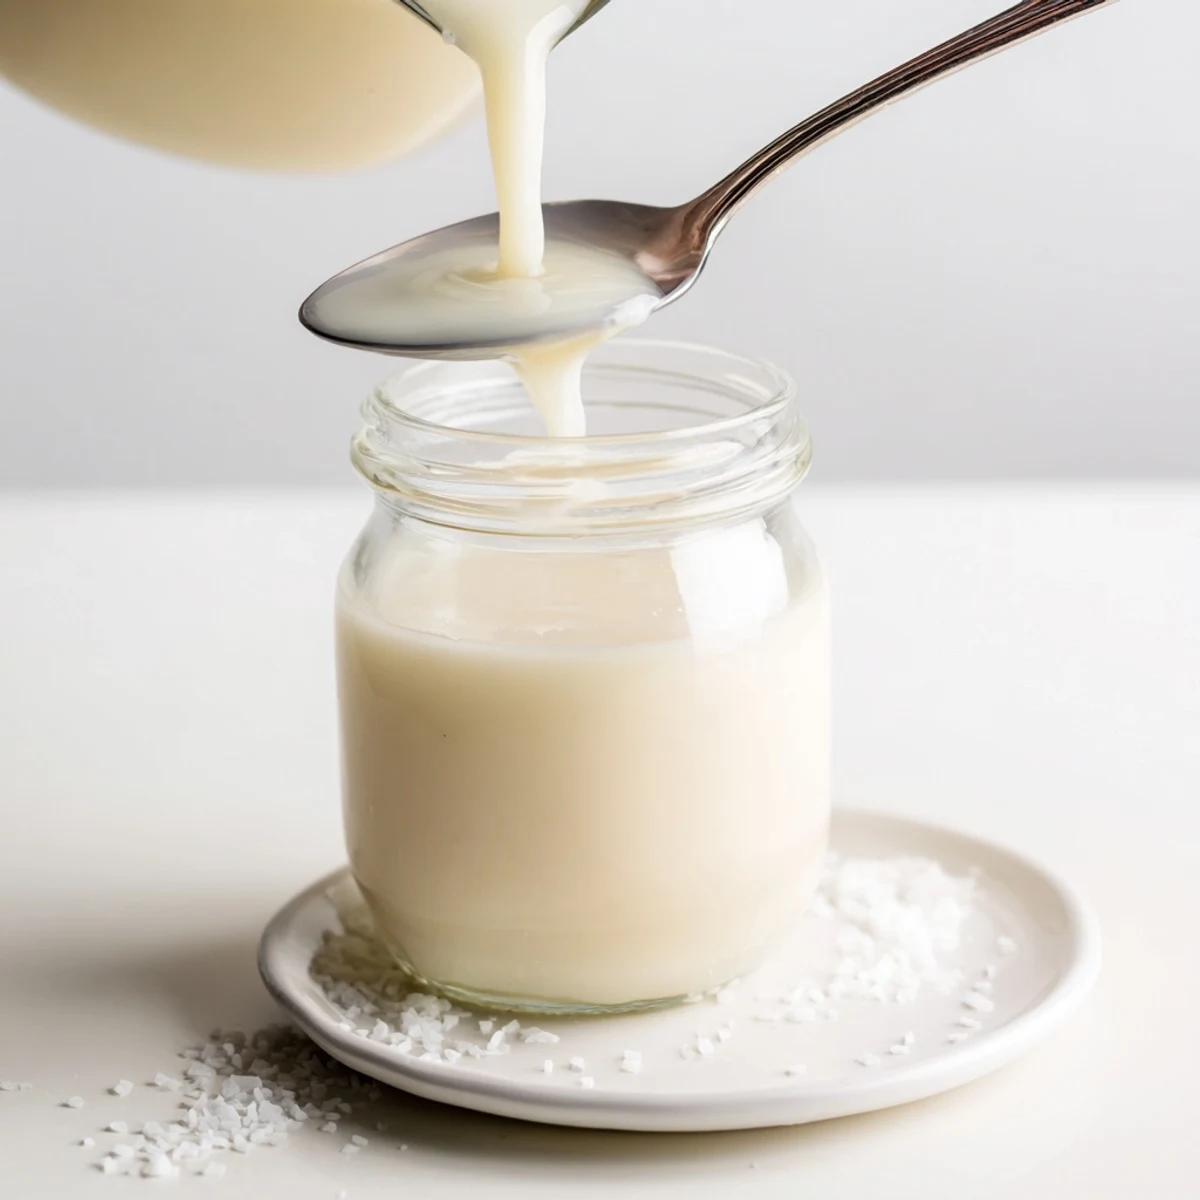
Save There is something oddly satisfying about watching a full can of coconut milk slowly shrink into one concentrated cup of liquid gold on the stove.
Getting The Right Consistency
The trick is never letting it boil hard, because aggressive bubbling causes the coconut fats to separate and you end up with an oily layer on top. A gentle, barely there simmer with occasional stirring yields the smoothest result every single time.
Storing Your Condensed Coconut Milk
Transfer it to a clean glass jar once fully cooled, seal it tight, and it stays good in the refrigerator for about a week. If it separates after chilling, a quick stir or ten seconds of gentle warming brings it right back together.
Ways To Use It Beyond Desserts
I have stirred it into morning coffee, drizzled it over oatmeal, and even used it as a quick dip for strawberries when guests arrived unannounced. It works as a one to one substitute for traditional sweetened condensed milk in any recipe.
- Swirl it into overnight oats for a subtle sweetness that feels indulgent but is entirely plant based.
- Drizzle over fresh fruit salads or grilled pineapple for an effortless summer dessert.
- Remember that a little goes a long way because the flavor is concentrated and intensely sweet.
 Save
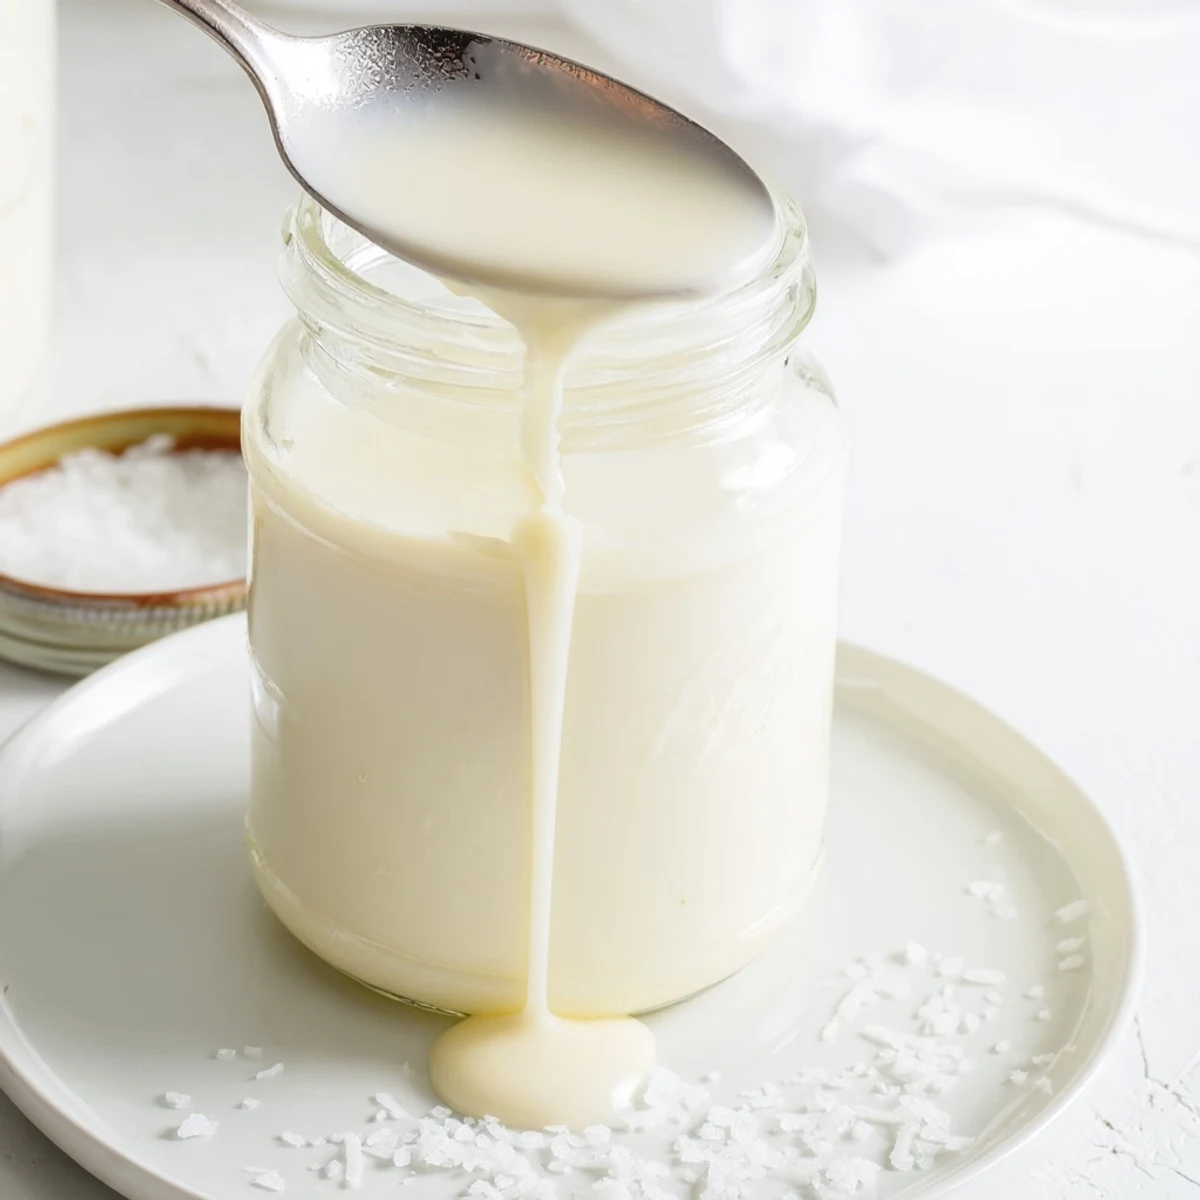
Save Once you make this from scratch, opening a can of the store bought version will feel like settling for less. Keep a jar ready in the fridge and you will find yourself reaching for it more often than you expect.
Recipe FAQs
- → Can I use light coconut milk instead of full-fat?
-
Full-fat coconut milk is strongly recommended here because it provides the richness and body needed for proper thickening. Light coconut milk has too much water content and won't reduce down to the right consistency, leaving you with a thin, watery result.
- → Why is my condensed coconut milk not thickening?
-
Thickening depends on patience and low heat. Make sure you're simmering gently on low—never boiling—as high heat can cause separation. Give it the full 35 to 40 minutes, and remember that it will continue to thicken significantly once cooled and refrigerated.
- → Can I use a different sweetener besides granulated sugar?
-
Yes, you can swap granulated sugar for coconut sugar to achieve a deeper, caramel-like flavor. Keep in mind that coconut sugar will darken the color and slightly alter the taste. Liquid sweeteners like maple syrup or agave can also work but may change the final texture and require less simmering time.
- → How should I store leftover condensed coconut milk?
-
Transfer it to an airtight container or jar and keep it in the refrigerator for up to one week. It may separate or become quite firm when chilled—just stir it well or warm it gently in a saucepan or microwave to bring it back to a smooth, pourable state.
- → Is condensed coconut milk safe for people with nut allergies?
-
Coconut is technically a drupe, not a tree nut, and most people with tree nut allergies can safely consume coconut. However, the FDA classifies coconut as a tree nut allergen, so individuals with severe nut allergies should consult their doctor and always check product labels for potential cross-contamination warnings.
- → What can I use condensed coconut milk for?
-
It works beautifully as a one-to-one substitute for traditional sweetened condensed milk. Use it in no-bake cheesecakes, fudge, flan, Vietnamese iced coffee, drizzled over oatmeal or pancakes, stirred into hot chocolate, or in any dessert that calls for that signature sweet, creamy richness.